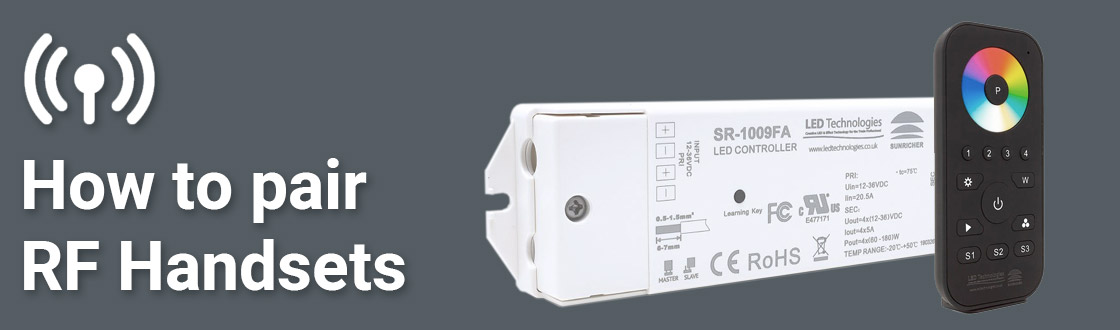
RF Handsets are the perfect way to control your LED Lighting.
Learn how to pair, unpair and troubleshoot your remote control in this easy-to-follow step-by-step guide.
The example used, works for most Sunricher RF Handsets, Wall Panels, and receivers.
Supplies used for this example:
(There are many other product options available this is just one option based on using a 5 meter, 24V, IP20 RGBW LED Strip Light)
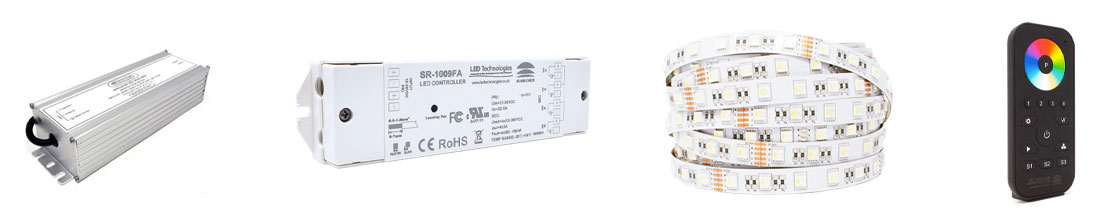
• RF 4 Channel Receiver (SR1009FA)
• ProFlex RGB Cool White LED Strip (100.690)
• RF RGBW 4 Zone Handset (SR2819SP)
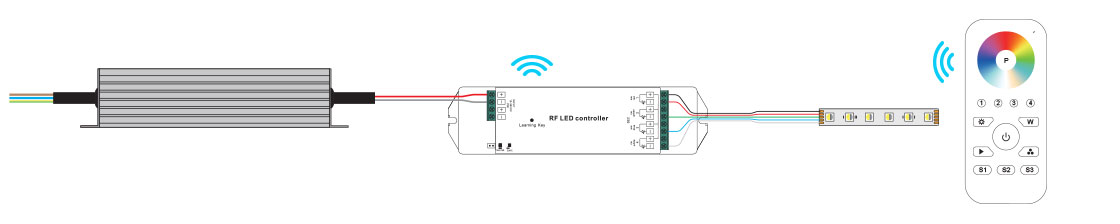
Once all the components are correctly wired up (See above schematic or individual product datasheets)
Pairing the Handset to a Receiver
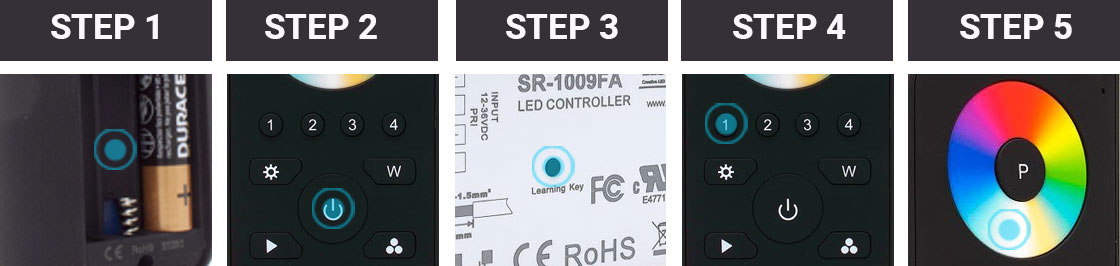
STEP 1
Ensure brand new good quality batteries are correctly installed in the handset.
Step 2
Power up the handset (Click the "power button" on the remote).
Step 3
Click the "Learning Key on the Receiver".
Step 4
Click a "number zone "on the handset.
Step 5
Touch the "colour wheel" on the handset.
The LED lights you are trying to control will flicker once to confirm the Handset is now connected to the receiver.
Remove the pairing between a handset and receiver
• Press and hold the "learning key" for over 3 seconds to reset the receiver. The Lights should flicker once to confirm the Handset and receiver are no longer paired.
Trouble Shooting
If the paring was unsuccessful try the following steps:
• Check the installation is correctly wired up.
• Ensure that the power is connected to the receiver.
• Ensure that batteries are brand new and correctly fitted in the handset.
• Press and hold the "learning key" for over 3 seconds to reset the receiver.
• Repeat pairing steps 2 - 5 (as above), the Lights should now flicker once to confirm the Handset is now connected to the receiver.
If the handset is still not connected to the receiver please contact one of our technical experts on: 01260 540014
 Processing